Uncategorized

Codebuggy rolls on

I’ve been making some progress with building my Codebuggy (Robot chassis for a codebug).

20150926_223408

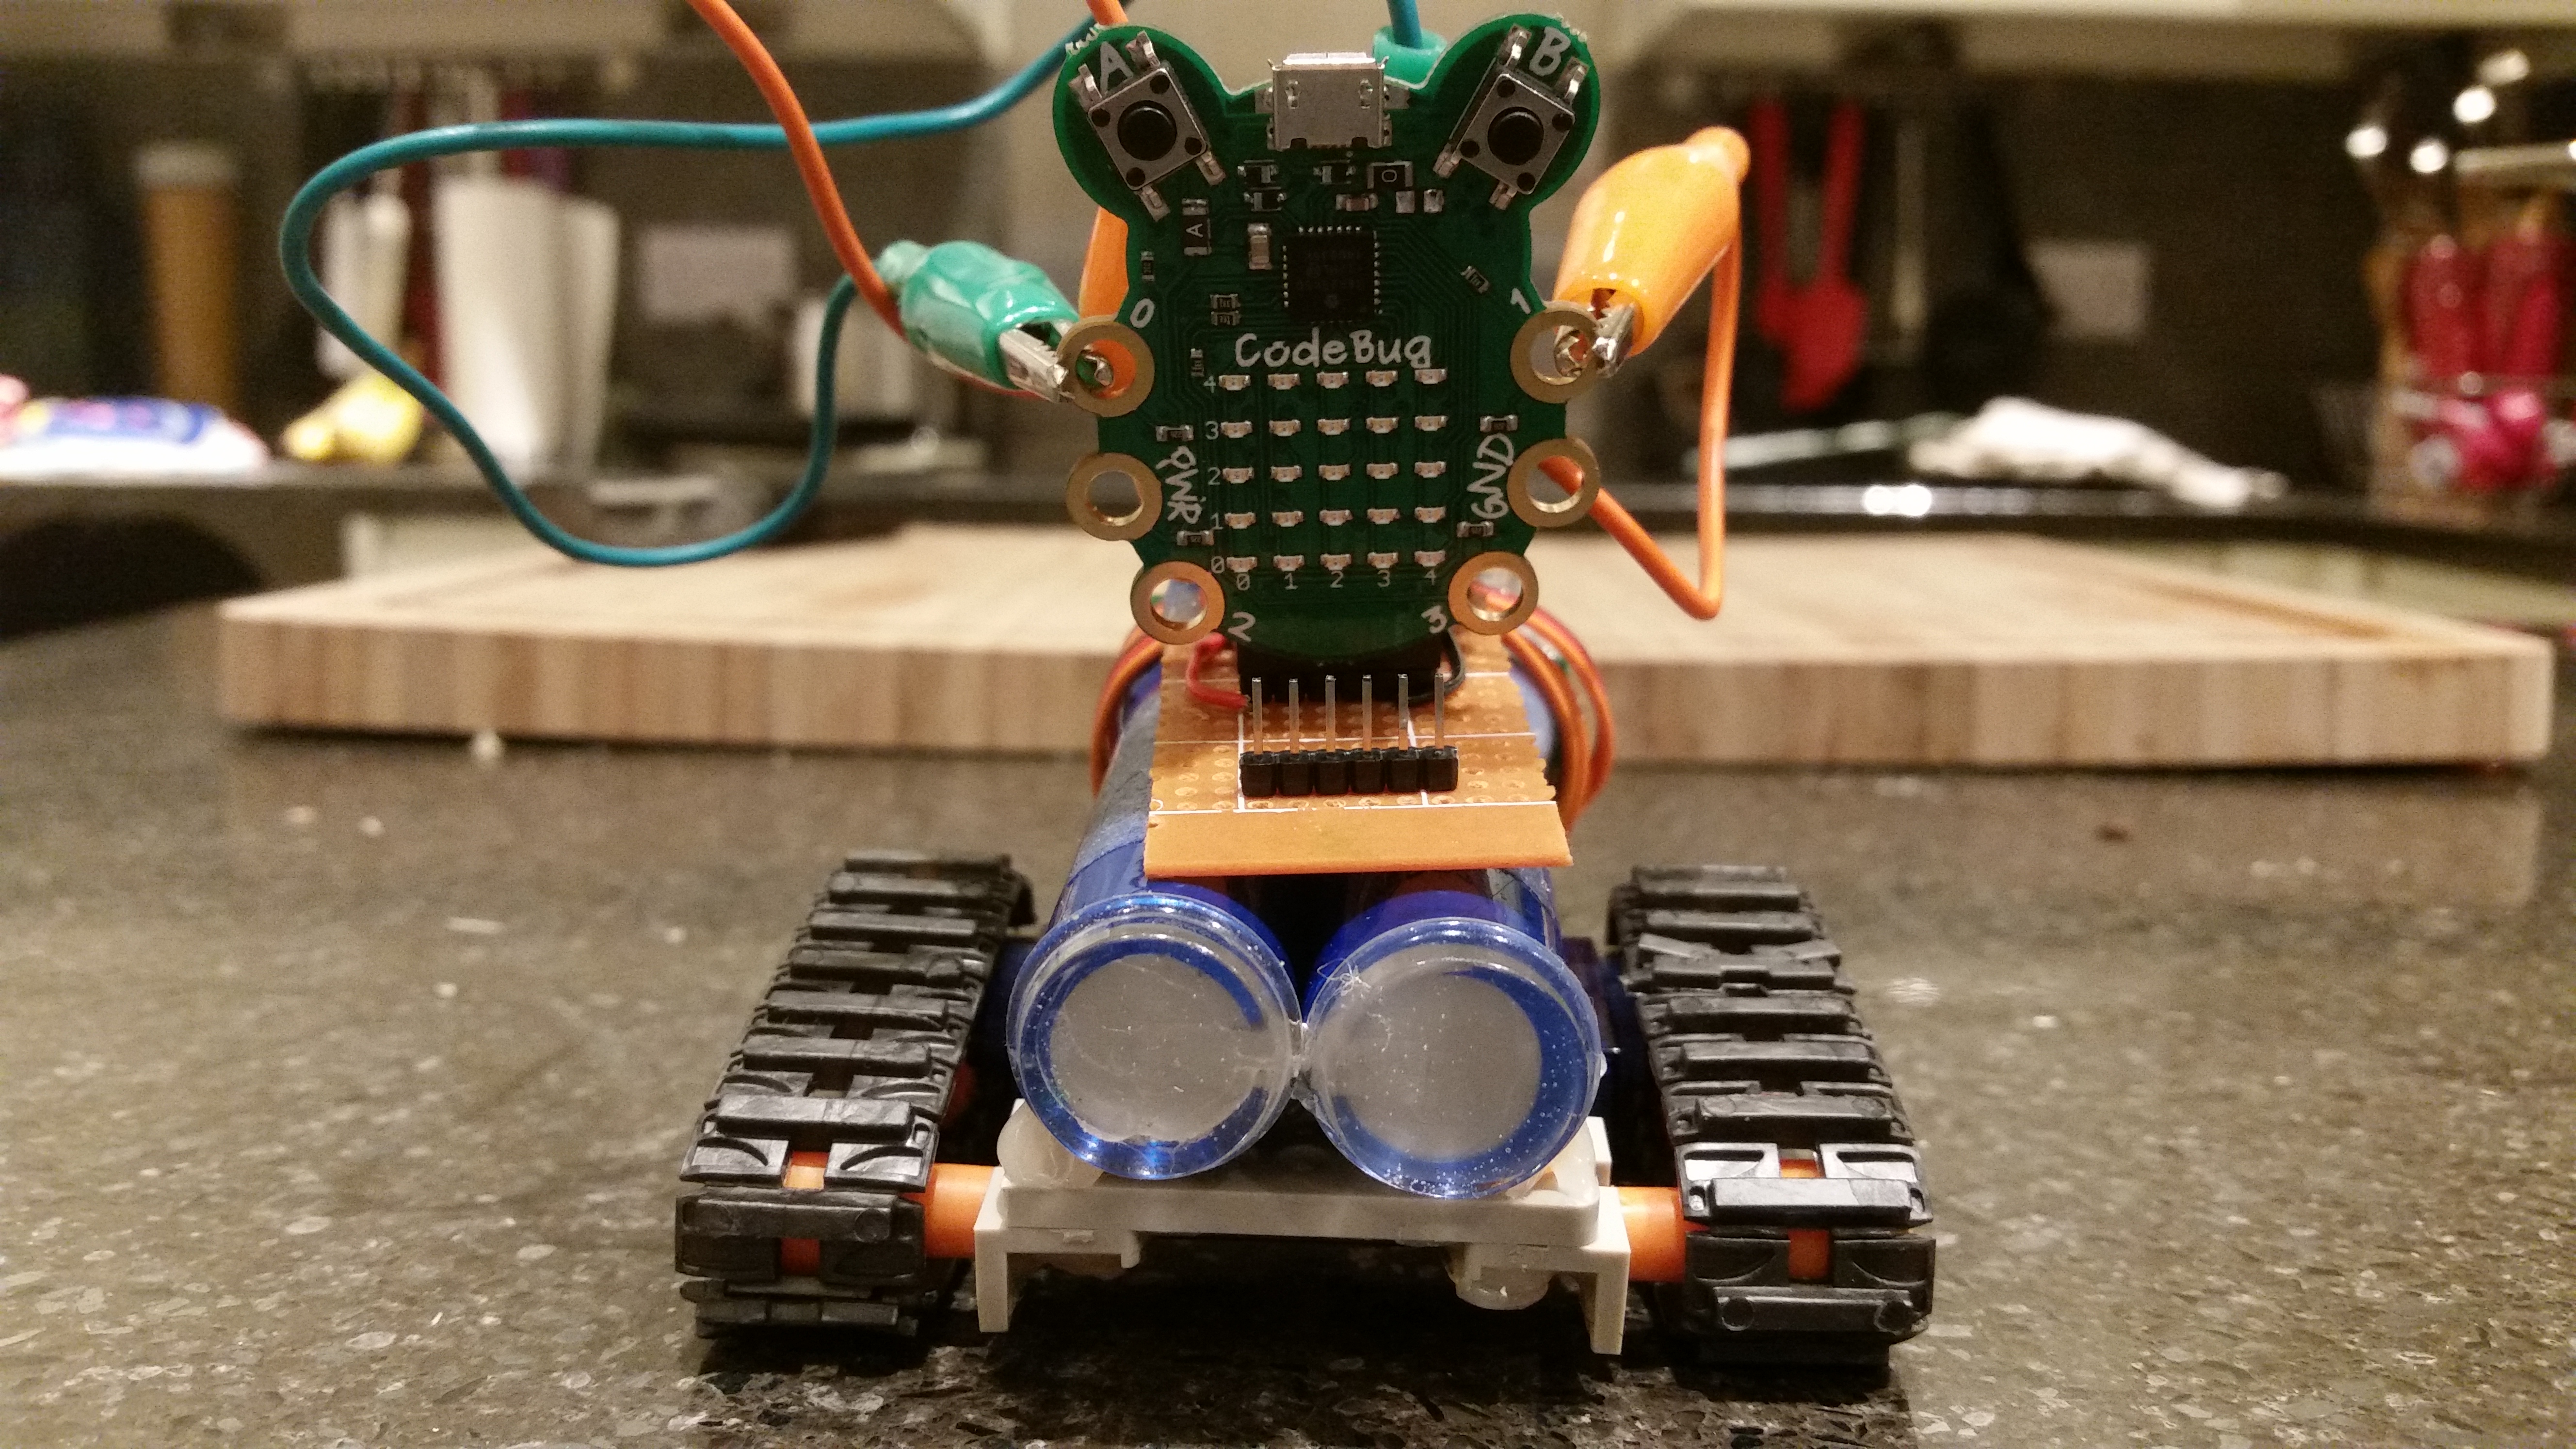
I’ve stripped a USB powerbank out of it’s shell and hot-glued it onto the chassis. I rotated the circuit board so that the USB socket was facing upward and I’ve covered it in hot-glue to make it safe for (and from) little fingers.

20150926_223434

I made up an interface board to connect the servos and the codebug to the USB powerbank.

After a few hours I added a powerswitch to my interface board, making it easier to turn off the CodeBuggy (it runs off fairly quickly).

I’m having a problem adjusting the speed of the servos, they don’t respond correctly to changes in the program.


Still to do:

Replace experimenters kit croc clip leads with short connectors to codebug legs;

Improve control program.

Standard
CodeBug

CodeBuggy

I backed the Codebug Kickstarter, it seemed like an interesting little gadget (now available for sale at Farnell).

By the time my codebugs had arrived there was a lot of progress on the (unofficial) codebug forums with PiGraham writing code that would move servos. MikeR took this a stage further and built a codebuggy with continuous rotation servos and a chassis from an old robot project.

So I ordered some tiny continuous rotation servos, a Tamiya track and wheel set and a Tamiya plate set.

Last night they arrived so I set to work making my chassis.


After about 4 hours I had finished construction but as it was midnight decided to save wiring it up for another night (tonight perhaps).

Underneath the Buggy

Underneath the Buggy


I don’t know if the tracks are going to be too much for the servos, this might end up being a very stationary buggy.

I need to shorten the axle for the idler wheels, but I assembled it anyway, so I could check the dimensions.

My Bugg, sitting on top of it's buggy.

My Bug, sitting on top of it’s buggy.


Next tasks:

  1. Check that the servos will drive the tank tracks.
  2. Solder together an interface board to connect a 5V battery, the Servos and the codebug.
  3. Shorten the Servo wires to connect directly to the interface board.
  4. Find a smaller battery (I bought some but they are huge, much bigger than my buggy).


Standard